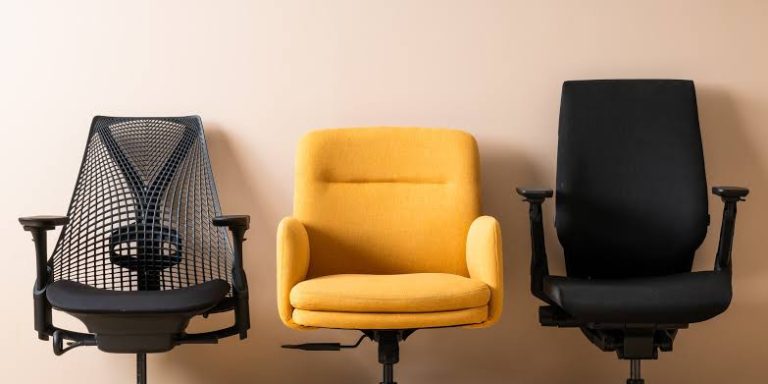
How to Choose the Right Ergonomic Office Chair Size: Guide
Office furniture is frequently manufactured under a “one-size-fits-all” assumption, yet human anatomy varies significantly in height, weight, and skeletal proportions. When an individual spends hours seated in a chair that does not match their physical frame, the body is forced into unnatural positions to compensate. A chair with a seat pan that is too deep can restrict circulation behind the knees, while a backrest that is too narrow fails to support the shoulder blades, accelerating muscle fatigue and joint strain across the entire spinal column.
To establish a biologically sound and comfortable workstation, individuals must evaluate furniture using specific anthropometric measurements rather than aesthetic preferences. Learning how to choose the right ergonomic office chair size is a critical step in preventing repetitive strain injuries and maximizing daily focus. This educational guide details the biomechanical metrics required to size a chair correctly, analyzes sizing categories, presents practical configuration scenarios, and outlines long-term care methods to ensure your seating continues to support your physical health.
Overview of How to Choose the Right Ergonomic Office Chair Size

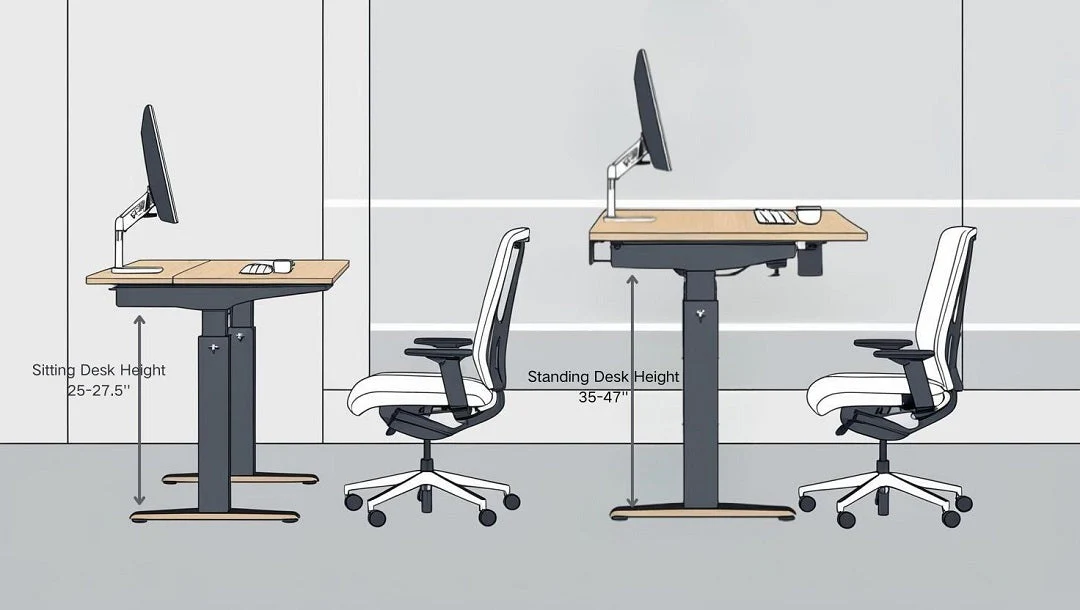
When exploring how to choose the right ergonomic office chair size, the primary focus centers on matching the chair’s structural boundaries to the user’s skeletal dimensions. Biomechanically, a chair functions as an external support matrix for the skeletal system. To maintain a neutral posture, the chair must allow the feet to rest flat on the floor, keep the thighs parallel to the ground, and distribute the user’s upper body weight evenly across the seat cushion without compressing vital nerve pathways or blood vessels.
Many people mistakenly assume that adjustable levers can fix a chair that is fundamentally the wrong physical size. While adjustability modifies a chair’s baseline, every chair has maximum and minimum structural limits for seat pan width, seat pan depth, and backrest height. The primary goal of matching these metrics to your body is to ensure that the built-in lumbar support sits precisely in the natural curve of your lower back while leaving a safe clearance gap behind the knees. Achieving this fit results in lower disc pressure, decreased muscle tension in the shoulders, and the ability to work comfortably for extended periods.
Core Dimensions and Sizing Classifications
The ergonomic industry typically categorizes task chairs into distinct sizing brackets or utilizes specialized components designed for specific height and weight distributions.
Office Chair Sizing Matrix
| Category / Type | Description | Common Use Case | Time / Cost / Effort Level |
| Size A (Petite / Small) | Designed with a shallow seat pan depth ($15$–$17$ inches) and a lower gas cylinder range. | Users under 5’4″ or weighing less than 130 pounds. | Standard mid-range cost; requires initial measurement planning. |
| Size B (Standard / Medium) | The universal industry baseline, offering a mid-range width and average component depths. | Users between 5’5″ and 6’1″, fitting roughly 80% of the population. | Highly available; low to moderate cost; minimal tracking effort. |
| Size C (Tall / Large) | Built with an expanded seat width, deep pan ($18$–$21$ inches), and high-profile cylinder. | Users over 6’2″ or with longer femur lengths. | Moderate to high cost; limited immediate retail availability. |
| Heavy-Duty / Plus-Size | Features reinforced steel base plates, heavy-duty gas lifts, and high-density wide foam. | Users requiring weight capacities ranging from 300 to 500 pounds. | Premium cost; requires verifying industrial ratings. |
To choose between these sizing options, calculate your exact popliteal height (the distance from the crease behind your knee to the floor) and your buttock-to-popliteal length (the length of your thigh when seated). If your measurements sit on the border between two sizes, opt for the size that allows the most flexibility via built-in adjustment sliders, such as a Size B chair paired with an expansive seat-depth slider.
Practical Sizing Scenarios for Varied Physical Profiles
Because human limbs are proportioned differently, configuring a chair requires looking closely at individual measurements. Below are three real-world scenarios showing how to analyze fit.
Scenario 1: The Short-Torso / Long-Leg Profile
This profile applies to an individual who stands 5’10” but carries most of their height in their legs, meaning a standard chair might leave their upper back unsupported if the backrest is too short.
-
Actionable Elements:
-
Selection of a standard Size B frame equipped with a high-back or vertically adjustable backrest.
-
Sliding the seat pan forward to fully support the long thigh bones (femurs).
-
Raising the gas cylinder until the hips sit slightly higher than the knees, keeping feet flat on the floor.
-
-
Relevance: This configuration prevents the upper shoulders from dropping backward into thin air, ensuring the entire spine remains supported despite atypical body proportions.
Scenario 2: The Petite Framework with Low Desk Clearance
A user standing 5’1″ faces the dual challenge of finding a chair that goes low enough for their feet to touch the floor while still reaching a fixed-height corporate desk.
-
Actionable Elements:
-
Deployment of a Size A chair with a short gas cylinder and a shallow seat pan depth.
-
Adjusting the seat height upward so the elbows match the desktop surface perfectly.
-
Placing an angled ergonomic footrest on the floor to fill the remaining gap under the feet.
-
-
Relevance: The shallow seat pan allows the user to sit completely back against the lumbar support without the front edge of the cushion pressing painfully against the back of their calves.
Scenario 3: The Tall / Robust Profile
A professional standing 6’4″ and weighing 260 pounds requires heavy-duty support and a large frame to avoid feeling cramped or breaking down chair components prematurely.
-
Actionable Elements:
-
Utilization of a Size C or reinforced heavy-duty chair frame.
-
Extending the seat pan slider outward to ensure at least 80% of the thigh is supported by the cushion.
-
Setting wide-set 4D armrests to their maximum outer boundary to prevent shoulder pinching.
-
-
Relevance: This setup distributes heavy weight over a larger surface area, protecting the tailbone from focused pressure and preventing the hydraulic cylinder from bottoming out under continuous loads.
Contextual Comparison
These scenarios demonstrate that chair sizing must adapt to specific anatomical configurations. Scenario 1 balances regular weight capacity with extra vertical backrest tracking. Scenario 2 uses a small structural frame combined with an external footrest to bridge a height gap safely. Scenario 3 prioritizes structural strength and wider dimensions to protect both the user’s joints and the longevity of the furniture.
Planning, Body Measurement, and Procurement Costs
Accurately calculating your body measurements before buying office furniture prevents ordering mistakes and avoids the hassle of return shipping. Prioritize measuring your body dimensions over simply matching a chair to the style of your room.
Sample Sizing Implementation Budget
| Category | Estimated Amount / Effort | Explanation | Optimization Tips |
| Anatomical Sizing Audit | $0 / 20 Minutes | Using a flexible tape measure to map out seated thigh length and elbow height. | Sit on a flat, hard chair with shoes on to get the most accurate real-world numbers. |
| Sized Task Chair Frame | $250 – $650 / Low Effort | The core task chair chosen within the specific Size A, B, or C category. | Look for commercial office liquidators to find high-end sized chairs at lower prices. |
| Heavy-Duty Cylinder Swap | $20 – $45 / Moderate Effort | Upgrading a standard gas lift to a reinforced Class 4 cylinder if needed. | Make sure the top diameter of the replacement cylinder matches your chair’s base socket. |
| Seat Pan Foam Extenders | $30 – $60 / Low Effort | Removable lumbar rolls or back pads used to fine-tune a seat pan that feels too deep. | A firm lumbar cushion can push you forward by 1–2 inches if a seat pan is slightly too long. |
Note: The price ranges and component upgrades listed above serve as general market examples for 2026 and can change based on the manufacturer, material quality, and specific geographical delivery fees.
Sizing Strategies and Adjustment Methods
Several built-in features and strategies help ensure that a selected chair size interfaces perfectly with your body.
1. Seat Depth Sliders (Seat Pan Adjusters)
A mechanical release lever that allows the horizontal seat cushion to slide forward or backward independently of the backrest frame.
-
Advantages: Allows a standard medium chair to instantly expand or contract to fit different thigh lengths; keeps pressure off the knees.
-
Disadvantages: Budget models can flex downward or wiggle slightly when extended to their furthest setting.
2. Ratchet Backrest Height Mechanisms

Internal tracking rails that allow the user to lift or lower the entire backrest structure into locked notches.
-
Advantages: Ensures the built-in curve of the backrest hits your lower back precisely, regardless of how long your torso is.
-
Disadvantages: Can accidentally unlock and drop to the lowest position if lifted too high during adjustments.
3. Width-Adjustable Armrest Brackets
Under-seat bolts or quick-release levers that let you slide the armrest columns outward or inward away from the seat core.
-
Advantages: Prevents wider users from feeling pinched while helping narrower users keep their elbows tucked close to their sides.
-
Disadvantages: Requires checking and tightening the mounting bolts every few months to stop them from sliding out of place.
Common Sizing Mistakes and Postural Risks
When figuring out how to choose the right ergonomic office chair size, buyers often make small configuration errors that can lead to physical discomfort.
-
The “Two-Finger Clearance” Oversight: Many users select a seat pan that is too deep, causing the front edge of the seat to press tightly against the space behind their knees. This constricts the popliteal artery, causing leg numbness. Mitigation: Always ensure there is a 2-to-3-inch gap (roughly the width of three fingers) between the front edge of the seat and the back of your calves.
-
Sizing Solely by Total Height: Buying a chair based only on your total height can backfire, as two people who are both 5’10” can have wildly different torso lengths and thigh measurements. Mitigation: Focus your measurements specifically on your seated thigh length and seated elbow height rather than your standing height.
-
Over-relying on a High Weight Capacity: Believing that a high weight capacity means the chair will automatically fit a larger body shape can be a mistake; heavy-duty chairs can still feature narrow plastic armrest guards that pinch the hips. Mitigation: Cross-reference the exact seat cushion width dimension alongside the maximum weight limit before purchasing.
-
Armrests Blocked by the Desk: Selecting a chair with wide, non-adjustable armrests can prevent you from pulling the chair fully under the desk, forcing you to lean forward and slouch. Mitigation: Choose drop-down armrests or T-style arm options that clear the front edge of your desk surface.
Long-Term Seating Management and Best Practices
Maintaining a proper fit requires regular checks, as daily use and changes in footwear can slowly shift your alignment.
Ongoing Postural Maintenance Checklist
-
Weekly Height Alignment: Re-verify that your elbows remain level with your keyboard tray; if the gas lift has slowly settled, adjust it back to your target height.
-
Bi-Monthly Fastener Checks: Tighten the bolts on your seat sliders and armrest brackets to prevent individual pieces from shifting or loosening under daily weight.
-
Footwear Assessment: If you change your shoe style—such as switching from thick-soled boots to flat shoes—remember to make minor height adjustments to your chair or footrest to keep your legs supported.
-
Bi-Annual Sizing Audit: Re-evaluate your seat depth and cushion support if your body weight or muscle mass changes significantly, as this alters how your body sits in the pelvic bowl.
Documenting Personal Sizing Specifications
Keeping a record of your ideal ergonomic measurements makes it easy to quickly set up a healthy workspace, whether you are hot-desking at a corporate office or upgrading your home setup.
Tips for Recording Ergonomic Dimensions
Measure your ideal setup and save the numbers in a digital note. Track three main metrics: floor-to-seat-pan height, seat-pan-to-armrest height, and the exact distance the seat pan slider extends from the backrest.
Illustrative Seating Size Profiles
-
Example 1 (Size A Petite Profile): “Target Configuration: Size A Frame. Fixed Seat Depth: 16 inches. Seat Height set to 15.5 inches from the floor. Combined with a 2-inch footrest to ensure the knees stay at a 90-degree angle. Lumbar slider locked at the lowest tracking notch.”
-
Example 2 (Size C Expanded Profile): “Target Configuration: Size C Frame. Seat Slider extended forward by 2.5 inches to match a 21-inch thigh length. Cylinder raised to 20 inches from the floor to accommodate a 6’3″ frame. Armrest width brackets moved completely outward.”
Closing Summary
Learning how to choose the right ergonomic office chair size removes the guesswork from setting up a healthy workspace by matching furniture to your specific body proportions. By carefully measuring your seated thigh length, popliteal height, and hip width, you can easily find a chair frame that protects your spine’s natural shape and distributes weight evenly. Combining a correctly sized chair with regular adjustments is the most reliable way to avoid joint strain and maintain a comfortable, productive workspace throughout the day.