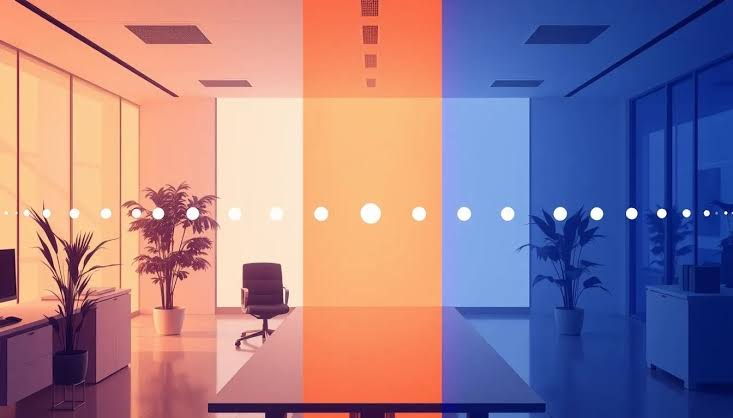
Diffused Lighting vs Direct Lighting for Video Conference Calls
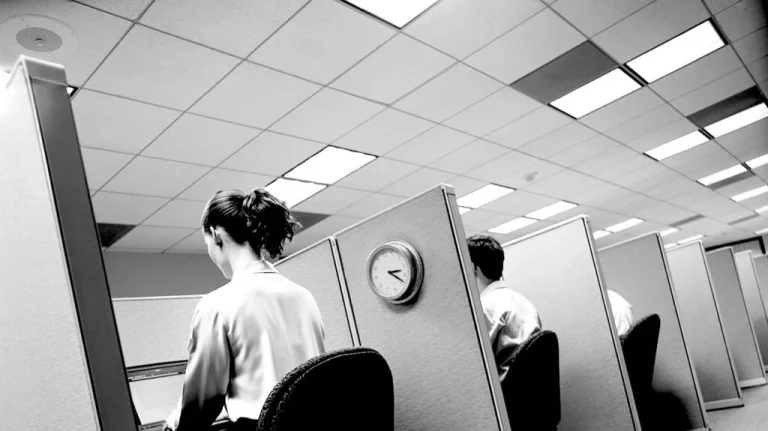
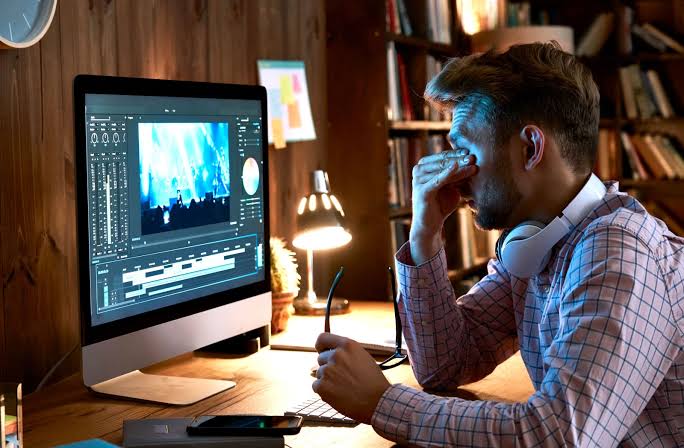
The integration of video communication into standard business operations has shifted the focus of professional presentation from physical boardrooms to digital interfaces. While laptop cameras and streaming hardware have improved significantly, the visual quality of a video stream is heavily dependent on the surrounding optical environment. Poorly configured workspace lighting can distort facial features, cast distracting shadows across the backdrop, and cause optical fatigue for remote participants, which can subtly lower engagement during critical discussions.
Understanding how light waves interact with the human face and camera lenses is essential for establishing a clear and polished digital presence. When exploring the differences between visual setups, the core decision involves comparing a diffused lighting vs direct lighting for video conference calls framework. This comprehensive guide outlines the underlying physics of illumination, compares key lighting accessories, maps out practical installation scenarios, and provides a clear framework for optimizing your workspace to achieve maximum visual clarity.
Overview of Diffused Lighting vs Direct Lighting for Video Conference Calls
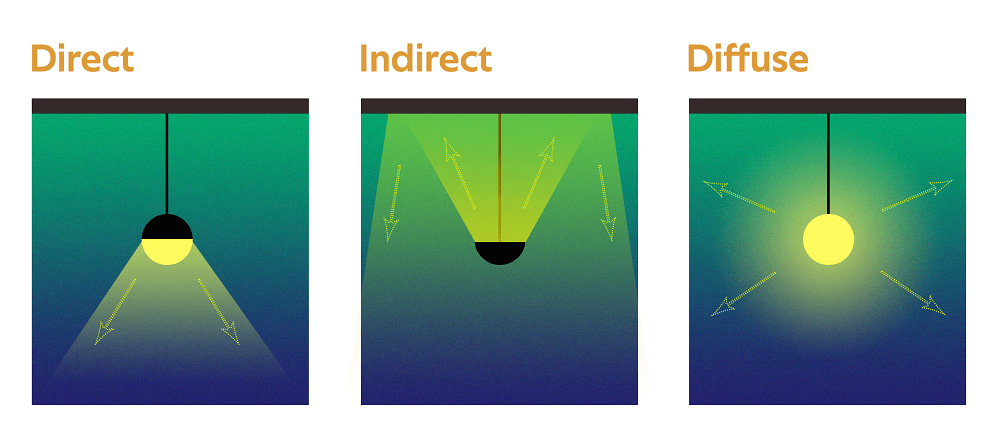
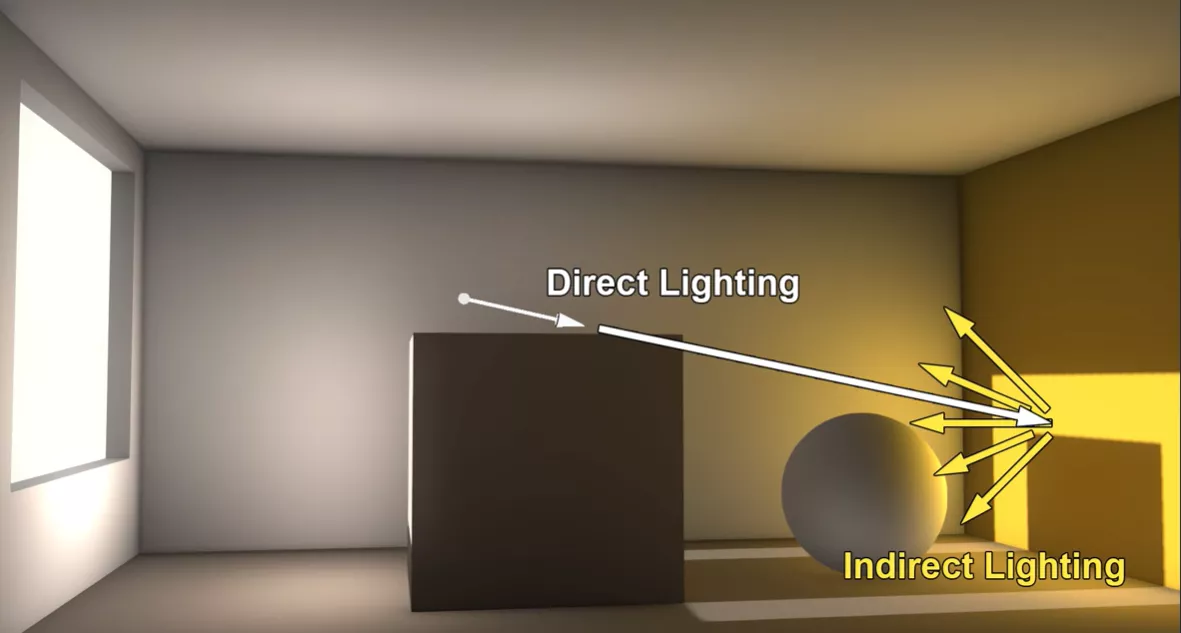
To accurately evaluate the choice between diffused lighting vs direct lighting for video conference calls, one must examine the behavior of light waves as they leave a source. Direct lighting occurs when light traveling from a small, concentrated point—such as a bare LED bulb, an unshaded desk lamp, or direct sunlight—strikes a subject in a straight, uninterrupted path. Biomechanically and optically, this hard light creates high-contrast borders. It produces bright highlights on smooth skin oils while casting sharp, dark shadows beneath the eyebrows, nose, and jawline, which can make facial expressions difficult for a camera sensor to map cleanly.
Diffused lighting solves this contrast issue by passing the light waves through a translucent scattering material or bouncing them off a wide, matte surface before they reach the subject. This scattering process turns a tiny, harsh light source into a large, soft visual field. Instead of casting sharp shadows, the scattered light wraps smoothly around curved facial features, filling in deep lines and distributing illumination evenly. The primary goal of choosing this framework is to reduce visual contrast gaps, help camera sensors compress images smoothly without creating digital noise, and present a balanced appearance that supports focused professional communication.
Core Categories of Lighting Angles and Modalities
Optimizing a digital workspace requires choosing the right hardware layouts and scattering tools, which can range from simple translucent screens to advanced multi-point lighting arrays.
Video Lighting System Comparison
| Category / Type | Description | Common Use Case | Time / Cost / Effort Level |
| Softbox Diffusion Enclosures | Fabric boxes lined with reflective silver interiors that force light out through a thick, milky nylon panel. | Dedicated home offices where users want a soft, professional studio look. | Moderate cost; requires initial assembly space; low daily effort. |
| Matte Ring Light Arrays | Circular LED tracks fitted with a permanent frosted plastic shield to scatter light forward. | Compact home nooks or shared spaces requiring a simple, single-source light. | Budget-friendly; immediate plug-and-play setup; lowest daily effort. |
| Indirect Bounce Reflection | Pointing a standard, powerful direct lamp straight at a white wall or ceiling to scatter the reflection. | Rented spaces or quick setups where users cannot mount permanent studio gear. | Free (using existing lamps); immediate execution; lowest effort. |
| Three-Point Studio Calibration | A professional layout combining a main key light, a softer fill light, and a dedicated background backlight. | Executive workspaces, keynote presentations, or high-stakes client pitches. | High hardware cost; complex placement planning; moderate ongoing effort. |
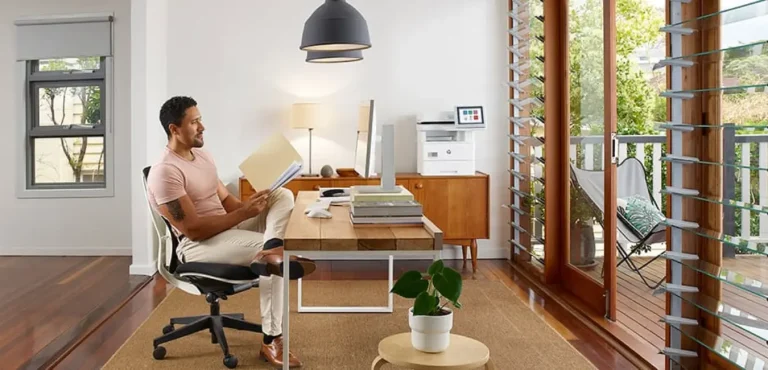
Selecting the ideal approach depends on your available space and your hardware layout. If you occupy a small desk nook where mounting large fabric boxes is impossible, utilizing a compact matte ring light array or an indirect bounce reflection setup provides a fast, space-saving improvement. For professionals building a permanent executive suite who participate in high-stakes presentations, investing in a full three-point studio calibration with softbox diffusion enclosures delivers the highest level of image depth and clarity.
Practical Scenarios and Dynamic Applications
The way light waves behave depends heavily on the architectural features and window layouts of your home office. Below are three common configuration scenarios.
Scenario 1: The Multi-Window Daytime Workspace
This setup features a home office with large windows that pull in bright, direct sunlight from the side, creating an uneven split across the user’s face.
-
Actionable Layout Steps:
-
Draw sheer, white light-diffusing curtains over the window pane to scatter incoming solar rays.
-
Position the main desk setup so the window illumination strikes the face at a gentle $45^{\circ}$ angle rather than directly from behind or the side.
-
Place a small, soft fill light on the opposite side of the desk to balance out remaining shadows.
-
-
Why Relevant: Direct, unshaded sunlight blinding one side of the face forces webcam sensors to overexpose the image, washing out details. Scattering the daylight creates an even look across your workspace.
Scenario 2: The Nocturnal or Windowless Basment Studio
This environment is located in a dark room with zero natural daylight, requiring artificial light sources to build an image from scratch.
-
Actionable Layout Steps:
-
Set a primary key light fitted with a softbox diffuser slightly above eye level, angled downward at $45^{\circ}$.
-
Adjust the light’s color temperature to a neutral $4000K$ to match standard daytime office values.
-
Place a low-intensity accent lamp behind your chair to project light onto the back wall, separating your shoulders from the background.
-
-
Why Relevant: In a pitch-black room, a single direct desk lamp creates a harsh “flashlight effect” that causes severe eye fatigue and dark shadows. Layering diffused sources provides an even, professional studio look.
Scenario 3: The Minimalist Shared Desk Hub
An office professional uses a compact, clean desk space where bulky light poles or fabric boxes cannot be left out between shifts.
-
Actionable Layout Steps:
-
Place a standard, high-lumen adjustable desk lamp next to the monitor frame.
-
Twist the lamp head completely away from your face, pointing the bare bulb directly at a flat white wall or ceiling area.
-
Increase the lamp brightness slider to compensate for the light absorbed by the wall material.
-
-
Why Relevant: Bouncing direct light off a flat wall expands the size of the light source mechanically. This gives you the visual benefits of soft, diffused light without requiring permanent studio hardware on your desk.
Contextual Comparison
These three scenarios differ based on their primary light control challenges. Scenario 1 softens unpredictable, high-intensity natural sunlight. Scenario 2 builds a balanced, multi-layered artificial studio space in total darkness. Scenario 3 leverages existing architecture (the walls) to create an invisible diffusion screen in tight spaces, proving that understanding diffused lighting vs direct lighting for video conference calls requires matching your setup to your room’s structural layout.
Strategic Planning, Resource Procurement, and Budgets
Upgrading your office video quality requires careful planning before buying accessories. Purchasing high-powered studio lights without checking their diffusion covers or color accuracy can leave you with a blinding, harsh setup that causes eye strain. Budgeting for verified specifications protects your eyes while maximizing your digital appearance.
Video Lighting Implementation Cost Model
| Category | Estimated Amount / Effort | Explanation | Optimization Tips |
| Primary Diffusion Key | $50 – $150 / Low Effort | A dimmable LED panel or ring light fitted with a factory-installed frosted diffusion panel. | Look for models that feature physical control dials so you can quickly adjust settings during live meetings. |
| Mounting Hardware | $20 – $60 / Low Effort | Desk-clamping friction arms or heavy-base telescoping poles to position lights securely. | Desk clamps clear away bulky tripod legs, freeing up valuable space on compact table surfaces. |
| Background Accents | $15 – $40 / Low Effort | Small smart LED bulbs or puck lights to throw color or soft light onto the wall backdrop. | Setting the background light to a cooler tone than your front key light builds impressive visual depth on camera. |
| Diagnostic Monitors | $0 / 10 Minutes | Utilizing a standard built-in camera preview application to calibrate your real-world contrast. | Check your video frame layout under different weather changes to map out seasonal lighting needs. |
Note: The cost ranges and hardware configurations detailed in this matrix serve as general market examples for the year 2026. Actual costs can fluctuate depending on your regional retail options, chosen technology brands, and custom home office layouts.
Implementation Tools and Support Accessories
A variety of specialized components help video professionals manage light diffusion paths smoothly and reliably.
1. Frosted Nylon Diffusion Fabrics
High-density, heat-resistant woven textiles designed to stretch over metal frames to split and scatter direct light paths.
-
Advantages: Delivers the softest possible light quality; completely eliminates hot-spot reflections on skin and glasses.
-
Disadvantages: Absorbs a portion of the light’s raw output, requiring you to turn up the base lamp brightness to compensate.
2. High-CRI (Color Rendering Index) LED Engines
LED circuit boards engineered to emit a full, rich light spectrum that closely mirrors the color accuracy of natural sunlight.
-
Advantages: Ensures skin tones look healthy and true to life on camera; stops fabrics and backgrounds from looking gray or muddy.
-
Disadvantages: Costs noticeably more than standard budget hardware store light bulbs.
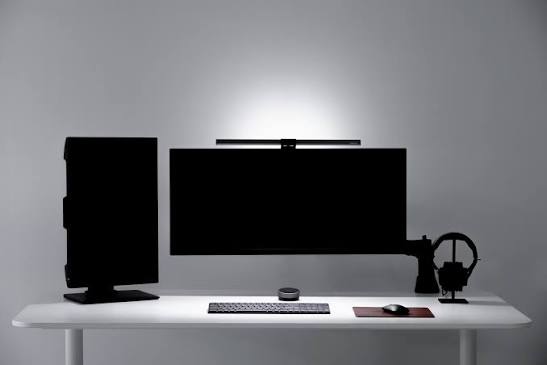
3. Asymmetric Desktop Light Bars
Screen-mounted directional bars that project light forward and downward over the keyboard workspace without hitting the screen glass.
-
Advantages: Reclaims desk space; provides clean workspace light; eliminates screen reflections.
-
Disadvantages: Cannot serve as your primary video key light, as it projects light straight down rather than forward onto the face.
Common Lighting Risks, Errors, and Safety Challenges
When setting up your workplace lighting, it is easy to make subtle configuration mistakes that can lead to eye strain, glare, or an unprofessional image.
-
Placing a Light Directly Below Eye Level: Mounting a ring light or lamp low on the desk forces light to travel upward under the chin. This creates an unnatural “monster lighting” look, casting shadows upward across the face and causing distracting glare. Mitigation: Always position your primary key lights slightly above your resting eye level, angling them downward at a $45^{\circ}$ slope to mirror natural sunlight.
-
Backlighting and Silhouetting: Positioning your desk directly in front of a bright, unshaded window turns you into a dark silhouette, forcing your webcam to adjust to the bright background while leaving your face in complete shadow. Mitigation: Move your desk layout so the window is at your side or front, or close solid blackout blinds during call blocks.
-
Exposing Raw LED Hot-Spots: Using high-power LED panels without a frosted cover plate creates tiny, intense dots of light that reflect sharply off glasses lenses and skin oils, causing visual glare. Mitigation: Always verify that your light fixtures use an integrated matte diffuser panel or pass light through a softbox screen before it hits your face.
-
Mixing Competing Color Temperatures: Running a warm 2700K yellow desk lamp on one side of your face while a cold 6000K blue window light streams in from the other creates a jarring, split-color image that confuses your webcam’s white balance. Mitigation: Standardize all light sources within your immediate view to a neutral $4000K$–$4500K$ palette during video meetings.
Long-Term Maintenance and System Calibration
Sustaining a reliable, healthy lighting environment requires ongoing care, as ambient dust and slow electronic shifts can degrade your system’s performance.
Video Lighting Maintenance Checklist
-
Every Sunday Shift: Wipe down your softbox diffusion screens and lamp lenses with a dry microfiber cloth; accumulated dust lowers light output and degrades image contrast.
-
Monthly Mount Inspection: Confirm that desk clamps and friction arm adjustment locks remain tight to prevent fixtures from slowly drifting out of alignment.
-
Seasonal Checkups: As seasonal daylight shifts between summer and winter, adjust your automated light intensities to balance changing room conditions.
-
Power Cable Management: Ensure all USB and power cables running along adjustable monitor arms have plenty of loose slack to avoid tearing out device ports.
Tracking and Documenting Visual Quality
Because lighting shifts can happen slowly over a long shift, keeping a brief record of your workspace adjustments helps determine which levels provide the greatest comfort and cleanest image.
Tips for Keeping a Quality Log
Keep a simple text note on your computer. Before starting your main meetings, open your native webcam preview application, check your image layout, note down your current brightness and color settings, and rate your visual clarity.
Real-World Progress Records
-
Example 1 (Pre-Correction Baseline Log): “September 12: Running a bare, unshaded desk lamp pointed straight at my face. The direct light creates a bright glare spot on my forehead and casts dark shadows under my eyes. Webcam sensor shows significant digital noise in the background. Visual comfort: 3 out of 10.”
-
Example 2 (Post-Adjustment Optimization Log): “October 4: Swapped the lamp for a dimmable LED panel fitted with a frosted softbox enclosure, set to a neutral $4000K$. Light wraps smoothly across facial features with zero sharp shadows. Webcam image looks clean, sharp, and highly professional. Visual comfort: 9 out of 10.”
Frequently Asked Questions (FAQ)
1. How do I prevent my video lighting from reflecting off my glasses?
To eliminate distracting green or white light reflections on your glasses lenses, move your primary key lights out of your direct line of sight. Instead of placing the lamp straight behind your webcam, slide it $45^{\circ}$ to the left or right side and raise it slightly above your forehead, angling it downward. This geometry forces the light reflections to bounce safely away from the camera lens.
2. Is a higher lumen rating always better for video conference lighting?
No, absolute brightness is less important than how smoothly the light paths are scattered. A super-bright, high-lumen light source without a diffuser panel will simply cause you to squint, create harsh facial shadows, and overload your webcam sensor. Look for models that emphasize a high Color Rendering Index (CRI of 95+) and include built-in matte diffusion covers rather than pure high-power output.
3. What is the single best color temperature for video calls?
A neutral white spectrum between 4000K and 4500K (Kelvin) is the ideal choice for professional video calls. This palette accurately mirrors natural daytime lighting conditions, ensuring that your skin tones, clothing colors, and workspace backdrop look clean, sharp, and true to life without looking overly warm or clinically blue.
Closing Summary
In conclusion, analyzing diffused lighting vs direct lighting for video conference calls highlights a fundamental choice between harsh, high-contrast shadows and smooth, professional illumination. Direct lighting throws narrow, concentrated paths that accent skin imperfections and create dark facial shadows that challenge webcam sensors. By utilizing frosted panels, softbox enclosures, or bouncing light paths off flat walls, you can easily scatter the illumination to wrap smoothly around your features. Combining these smart layout updates with consistent gear maintenance ensures a clean, comfortable, and highly polished digital presence over the long term.